![]()
Abstract
Do It Yourselfers often like to experiment with home automation. Whether is is turning on light, or watering the lawn, automation can save you both time and make your home more livable.
Today we are going to pursue using the automation program “OpenHAB2” and the switches made by TP-Link. We will discuss how to set it up on a Linux computer, although is works on most OSs.
What is home automation
Home automation is the use of one or more computers to control basic home functions and features automatically and sometimes remotely. An automated home is sometimes called a smart home.
Home automation can include the scheduling and automatic operation of water sprinkling, heating and air conditioning, window coverings, security systems, lighting, and food preparation appliances. Home automation may also allow vital home functions to be controlled remotely from anywhere in the world using a computer connected to the Internet. home automation
From my perspective, routine tasks can be automated using a computer for control. I like the ability to add automation to my home since it makes routine tasks easier.
Lets start by talking about what can be automated in a home. This list includes some ideas but is not meant to be a definitive list.
Turning on and off lights or other electric devices
Heating and cooling the house
Burglar alarm
Door bell, buzzer entry
Plant humidity/watering
Video feeds for buglers or children
Music System control
Control of Lights and Appliances
I am going to focus on the control of lights for this talk. So the first task is to choose a device which can switch on and off electric appliances or lights.
I am going to focus on the TP-Link HS100 for this talk. I also have the HS200 which is a wall switch version of the HS100.
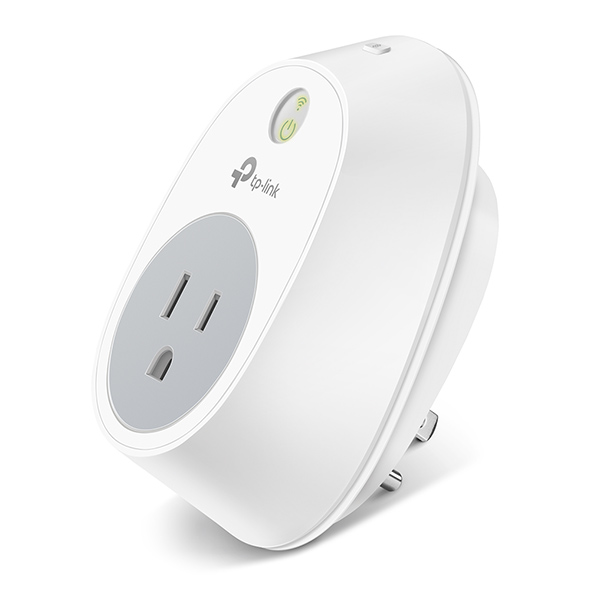
I chose the TP-Link because is had a good price for a Wifi switch. Additionally from my perspective is that it runs Linux. The advantage of the switch running Linux is that it can be controlled outside if the defined application.
Here is a description of the device from a GitHub site:
The tp-link Wi-Fi Smart Plug model HS100 is an embedded Linux computer with a Wifi chip, a 110/220 V AC relay with a 15 A current limit, and a US-style grounded electrical socket. You pair with it by establishing an ad-hoc network between the plug and a smartphone (also called Wifi direct). After giving your router’s SSID and access information, the plug connects to it and you can control the plug with the app provided by tp-link, called Kasa. Control the tp-link HS100 smart plug from the command line.
At this site there is a Shell script which can control the HS-100 directly. We will talk later about alternate means of scheduling your lights in Linux.
But before we get too far into the internals lets look at how to set up the switch.
Setup TP-Link HS-100

The first step is to install the application Kasa on you smart phone. This application establishes the initial communication with your wifi network. This is not required for us since we will be using OpenHAB to control the switch. But it allows you another method of control and scheduling.
Setting up Kasa is easy. Just open the app, create your free account‚ and add smart home products as you install them. You can give each product a unique name to make it easier for you (and Alexa) to tell them apart. Once your smart home products are added‚ you can control them individually or in groups through Kasa‚ and enabling voice control with Amazon Alexa takes just a few extra taps. Plays Well with Others
The basic steps using Kasa are defined in: How to connect my TP-Link Smart Plug to my home network via Kasa?.
Once you have finished this the switch has both a name and an IP address.
Automation control Program
For the automation part of the system, I recommend OpenHAB. This is a system that runs on Linux, Windows, Mac, and Raspberry Pi.
OpenHAB is a software for integrating different home automation systems and technologies into one single solution that allows over-arching automation rules and that offers uniform user interfaces. What is OpenHAB?.
Installing OpenHAB2
I installed my installation of OpenHAB using the package manager in Linux, so that was easy. But the instructions are pretty good at Installation Overview.
First you download the zip file Runtime Distribution and follow the instructions. One issue I noticed is that I did not need to install the Eclipse SmartHome Designer since the editing is now handled by the PaperUI.
You will need one additional Binding to use the TP-Link devices. Download the file: org.openhab.binding.tplinksmarthome-2.2.0-SNAPSHOT.jar. Once you have it downloaded, copy it to /usr/share/openhab2/addons for Linux or C:\openHAB2\addons for Windows or ~/openhab/addons for the Mac. This file contains the information to bind the TP-Link devices to OpenHAB.
Configuring OpenHAB2
Now that the OpenHAB is installed we can call up the application by using a web browser at this address
http://localhost:8080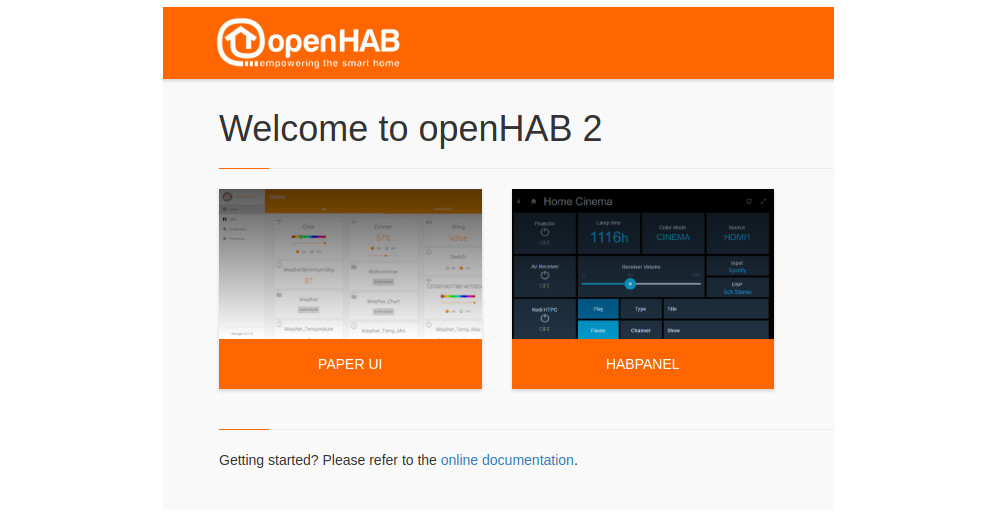
PaperUI
From here we are going to select the PaperUI to configure the system. Instructions for the Configuration though Paper UI is available.
Addons
The first step is to select the bindings form the Addon’s page. I selected the Astro Binding and the TP-Link Binding. The Astro is to allow you to trigger actions at times like Sun Rise and Sun Set. The TP-Link binding is for the switch we install above.
Bindings
In the inbox you should find the TP-Link you installed should show up. This should show you the name you selected when you used Kasa.
Once you have clicked on the Check mark in the circle, the item will move to the Things tab.
On the TP-Link you should open the item under things and make note of the line something like “tplinksmarthome:hs100:544774”. You will need this info later for the rules
Rules
I find it interesting that the rules section of the tutorial is still for OpenHAB1 and not the current version OpenHAB2. So I am going to walk you through creating a rule to turn on you Switch as Sun Set.
I am going to click on the Plus to create a rule and name it Sunset.
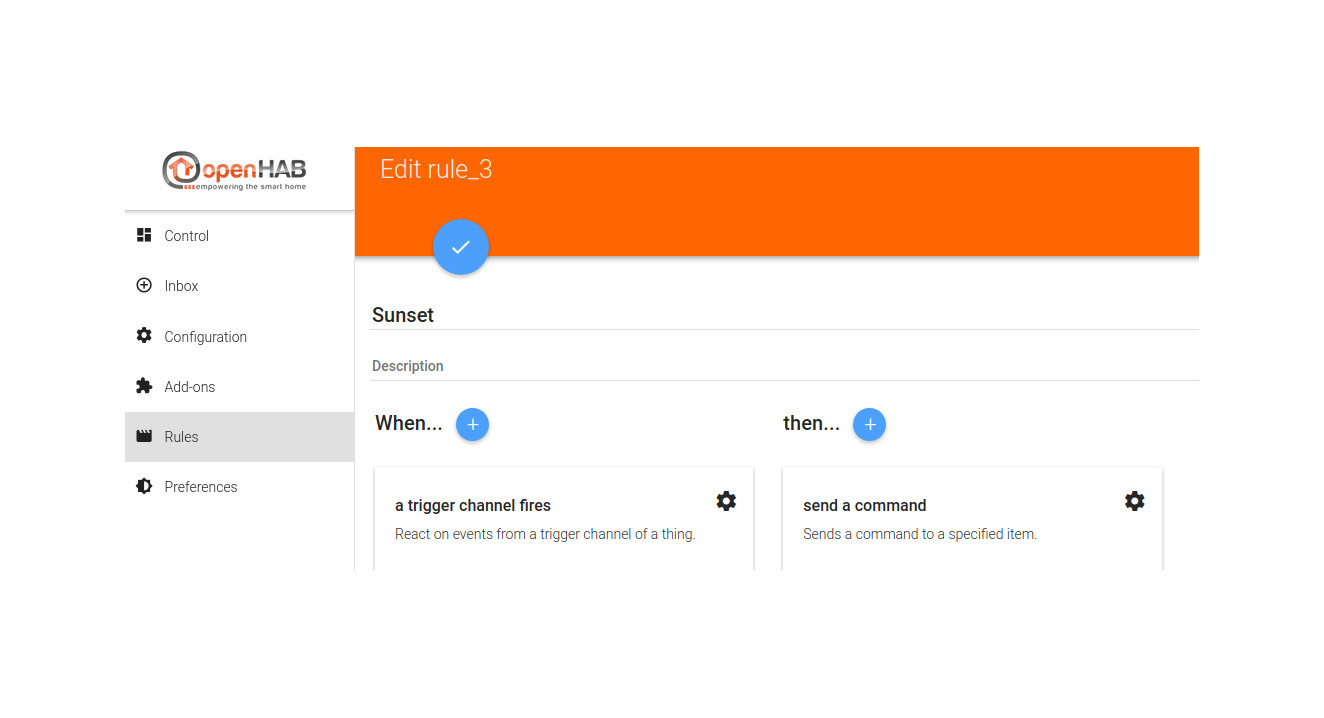
Next click on the Plus next to When and select the a trigger channel fires. The click Next. Now click on the Configuration named Local Sun (set#event). Click OK to finish.
Next click on the Plus next to then… and select the send a command. Then click Next. Now select the Configuration item like Switch (tplinksmarthome_hs100_535511_switch) using the id you saved above. Now select the command ON. Click OK to finish.
You have now created a rule which will turn on the switch at Sunset.
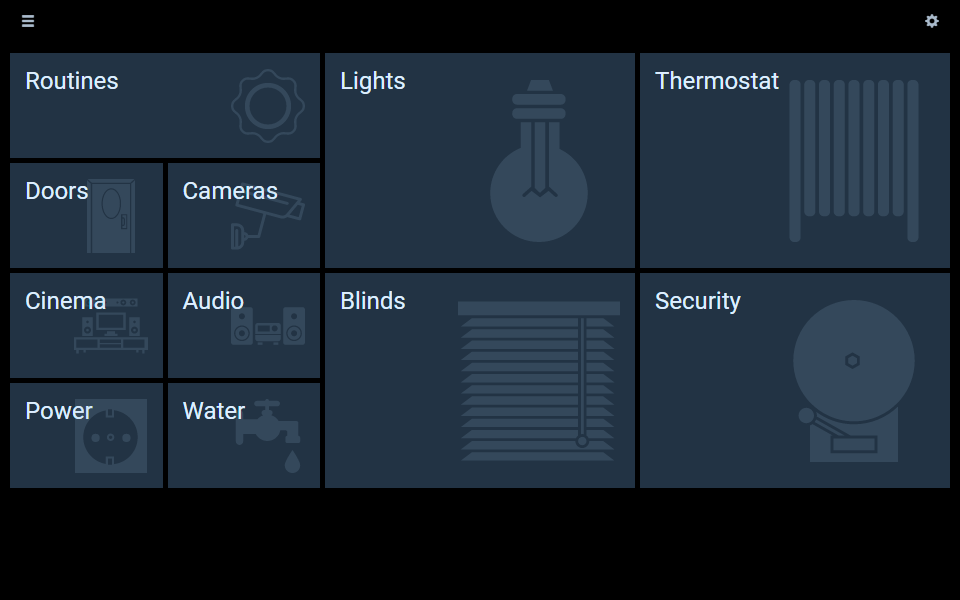
HABPanel
The next part of the interface is the user interface. This is a drag and drop interface which allows you to define your own interface. Instructions are available at Designing dashboard interfaces with HABPanel. Since these instructions are pretty good I will not try to explain them here, but here is an example.
Troubleshooting
When I first setup this program in my home I had a problem of the IP addresses changing from day to day. So I found two things that made it more stable.
Static DHCP
I found that I could use the MAC address of each switch to give them a fixed IP address. On my access point they are called Static Leases. By assigning the MAC address for each TP-Link Switch a fixed address I was able to get consistent IP addresses.
Test Scripts
Additionally I found a couple of shell scripts to allow control of the TP-Link Switches. The first one I found was in hs100 written by the same person who wrote the binding for the TP-Link devices in OpenHAB. This script allowed me to use the IP address, a port number, and a command to check and operate the switch.
But the only problem with the script above was that I needed the IP address, that kept changing unexpectedly. But I knew the MAC address of each switch, so I used the following script to find the switch to control it.
FD=`arp | grep -i 50:C7:BF:A6:B1:40 | awk '{print $1}`

hs100.sh $FD 9999 ON
This allowed me to locate the IP of the switch and turn it on. I called this script using the Crontab functionally in Linux.
Since I have cured my IP problem, I do not need the troubleshooting, but it was useful to learn about the system.
Written by John F. Moore
Last Revised: Fri Jan 30 01:16:29 PM EST 2026

This work is licensed under a Creative Commons Attribution-NonCommercial-ShareAlike 3.0 Unported License.