Abstract
Now that we understand resistors, capacitors, bread boards, and other peripherals for our microcontroller it is time to jump into using one of the boards.
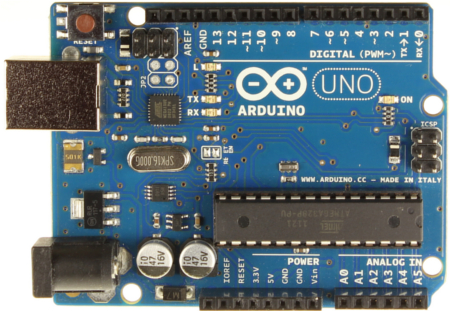
So today we are going to explore making use of the Arduino Nano.
Introduction to the Arduino
So, I get two or three emails a day, all basically asking the same thing: “Where can I learn about electronics?” In general, most of these people have seen some of my projects and want to be able to build similar things. Unfortunately, I have never been able to point them to a good site that really takes the reader through a solid introduction to microcontrollers and basic electronics.
UNTIL NOW!!!
Arduino Foundations This page contains explanations of some of the elements of the Arduino hardware and software and the concepts behind them.
Tutorial Series for Arduino: It begins by Jeremy Blum Thanks to a generous sponsorship from element14, I’m putting together a tutorial series on using the arduino microcontroller platform! The arduino is a platform that I’ve done several projects with, and I think it is the best possible way for beginners to get acquainted with electronics. This tutorial series will be aimed at beginner users, but I’m hoping to keep it going with some more advanced topics a few episodes into the future. This first episode will get you acquainted with the arduino uno (the current “flagship” arduino), introduce the programming language, and help you get your first program running!
To continue the lessons check out Category Archieves: Arduino Tutorials
Diagram of the Arduino
I think it is important to understand what components are inside the micro so we can appreciate how it works. For a more detailed view lets have a look at the Uno Rev3 schematic
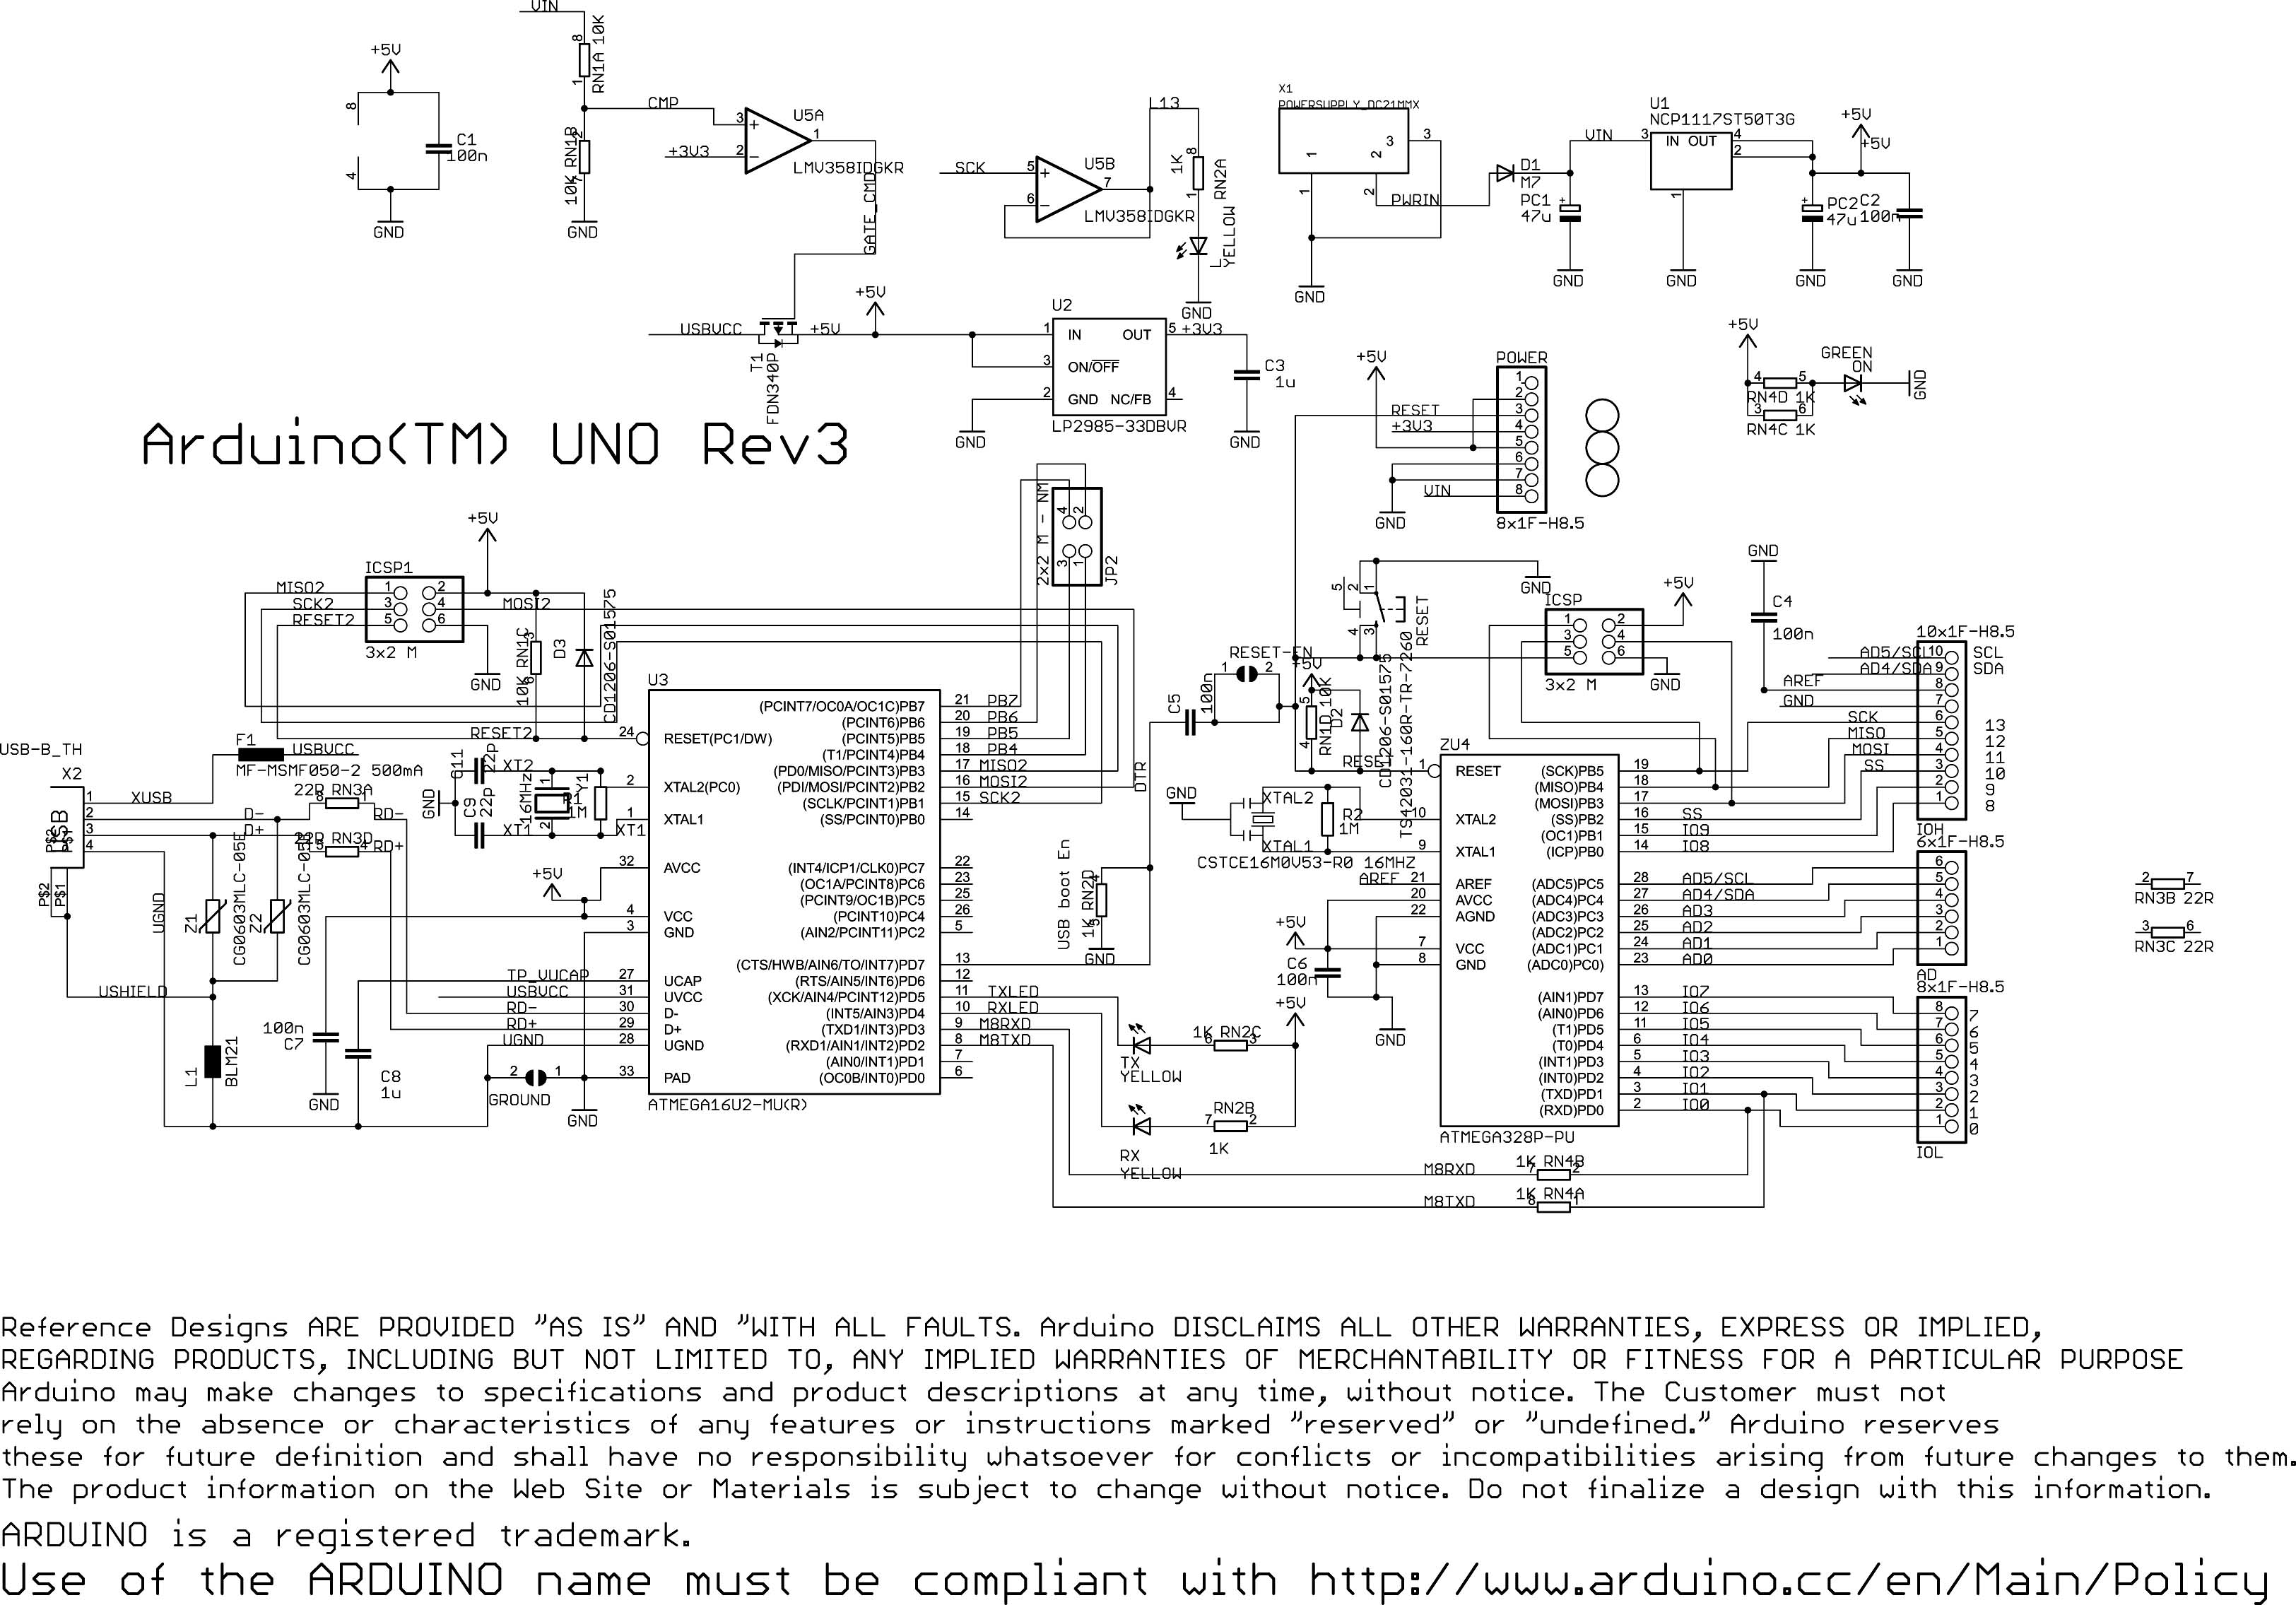
Here is a diagram showing the layout as Peripheral Modules.
Lastly lets see how the pins of the micro relate to the layout of the board as shown in an Arduino UNO Pinout Diagram
Arduino Programming
Now that we have an understanding of the pins on the Arduino, lets have a look at some simple programming. Blinking an LED using a Arduino UNO (explained)
Or for a slightly different, but similiar explanation we will look at Getting started with Arduino! Chapter Zero
For more information along these same likes have a look at Arduino Uno Setup and Programming Tutorials which contains more demanding applications.
Project Sites
I am going to provide a list of web sites which provide arduino projects. You can build the project they list, or use their ideas as a starting point.
-
The Arduino micrcontroller has a nearly limitless array of innovative applications for everything from robotics and lighting to games and gardening! It’s a fun way to automate everything, enabling you to control simple devices or manage complex Halloween displays.
The Instructables editors have chosen some of our best do-it-yourself Arduino technology projects to educate and inspire you to make great things with easily-available tools.
-
See the following examples for an overview of the Arduino Core functions and Libraries; the foundations page for in-depth description of core concepts of the Arduino hardware and software; the hacking page for information on extending and modifying the Arduino hardware and software; and the links page for other documentation.
Electronics For The Everyman: 25 Kick Ass Arduino-Powered Projects
Once youve conquered your fear of static electricity and successfully built a kick ass custom PC from the ground up, making the jump to custom electronics isnt all that intimidating. The open-source Arduino microcontroller breaks down the entry barrier even further. Flexible, powerful, easy-to-use and licensed-to-alter (under Creative Commons Share-Alike), the Arduino is the linchpin behind scads and scads of nifty DIY electronics projects. And hey! It just so happens that weve gathered 25 of the coolest, craziest, and most useful Arduino-powered projects in this gallery for your viewing and building pleasure. Mind-controlled Nerf guns, anybody? No, its not black magic. Its the magic of Arduino!
Top 40 Arduino Projects of the Web
Since we love the ever-popular Arduino, weve scoured the vast reaches of the interweb and unearthed the best Arduino projects just for you. The Arduino is an open source programming platform which allows you to easily control electronics with a microcontroller See our Arduino tutorial to learn all about it.
10 Simple-But-Fun Projects to Make With Arduino
John Boxall, author of the new book Arduino Workshop, shares a few of the projects from his book on how to get started with the microcontroller. (Click the links to see PDFs of the complete materials list and coding needed.)
Tools
Fritzing
Fritzing is a free open-source PCB design suite that works on Windows, Mac, and Linux. Unlike Eagle or KiCad, Fritzing has a simple and realistic interface that makes designing circuits intuitive. How to Create Practically Anything, Part 1: Fritzing Circuit Boards
Here is an interesting video Introduction to Fritzing.
Lets have a look at some Fritzing tutorials.
Learning Arduino with the Fritzing Starter Kit is a tutorial for using a starter kit with the Arduino and Fritzing on YouTube.com
Learn about Fritzing, PCB production and Physical Computing is the tutorial link on Fritzing’s web site. It includes both video and written tutorials.
Projects This section on the Fritzing web site, presents a collection of learning materials for beginners as well as for advanced users.
8x8x8 LED Cube
This project is described in the article LED Cube 8x8x8. I purchased this as a kit from Jameco 8X8X8 LED Cube Kit Blue but the code came from the instructables article, arduinocube.pde, or from Jameco’s web page.
Problems
This project was a lot harder that I had expected. The wires sent with the kit are much bigger than what I used. It required a very small soldering tip to solder the wires on the back of the board, and it was hard to prevent solder shorts.
Some of the drawings look like bad copies of the the schematics, and do not have enough contrast to be easy to read. This was a challenge which took some planning to over come.
The kit and the schematic do not quite match. There is a switch called for that was not in the kit. Some of the capacitor values did not match. But I was able to work around them.
Success
One thing I did was a LOT of continuity testing. I checked each led before starting. Checked all the leds on each layer when it was finished. Checked the whole led cube when it was done.
With the board, I did continuity testing over and over to make sure each wire connected to the correct socket point, and there were no solder shorts between pins. Since you do not have an etched circuit board you need to be VERY careful with the wires.
But once everything was together, and I loaded the software, it worked right out of the box.
Lessons
When assembling the led cube you might conside using bare wire especially for the vertical lines. One setup I saw at the Makerfaire in NYC, used wires between all the led legs. This made the cube more rigid and stronger. It also allowed the leds to be spaced 1 inch apart instead of 1/2 inch. This makes the cube more impressive as well as stronger.
Another idea would be to make a circuit board to eliminate the wires connecting the IC sockets and use some short jumpers on the top to get over some traces. The easy way to do this would be to use some bare wire soldered onto the pads.
I saw one of these cubes at the Makerfaire using 3 color leds. It was really beautiful, but cost much more money. Once you understand how this works, the sky or your budget is the limit, you just need a good concept of multiplexing.
Written by John F. Moore
Last Revised: Tue 01 Sep 2020 08:10:07 PM EDT

This work is licensed under a Creative Commons Attribution-NonCommercial-ShareAlike 3.0 Unported License.